The $5 Manicure Method: Salon Looks Without the Salon Bill
An at home manicure used to mean something specific and a little disappointing: a slightly streaky coat of drugstore polish that chipped by Wednesday, a poor substitute for the real thing you’d get if you could only afford to go more often. That gap between salon and home has closed dramatically over the last few years, to the point where the actual difference is now mostly technique and patience rather than equipment or skill you don’t have.
This matters because the financial gap hasn’t closed at all. A biweekly gel manicure at $45 a visit is over a thousand dollars a year, money that, redirected almost anywhere else, would have a noticeably larger impact on your actual life than chip-resistant nails for two weeks at a time. The $5 manicure method isn’t about giving up the polished look you’ve come to expect. It’s about understanding what you were actually paying for, and learning to do the part that matters yourself.
Why the Obvious Salon-Skipping Advice Fails
The standard frugal advice here is “just buy cheap nail polish and do it yourself,” and it fails almost every time for the same reason. It treats the visible product as the variable that matters, when the actual gap between a salon finish and a home attempt is almost entirely about preparation, application technique, and the tools used to apply pressure and precision a basic polish bottle and brush were never designed to provide.
Buying expensive polish without changing technique produces the same streaky, quick-chipping result as buying cheap polish. The reverse is also true: a five dollar polish applied with the right base coat, the right nail prep, and the right thin-layer technique looks dramatically better than an expensive polish slapped on in two thick, uneven coats. The product matters less than people assume. The process is where an at home manicure actually succeeds or fails.
This is also where most people quit after one attempt. They buy a kit, follow none of the prep steps because they seem unnecessary, get a mediocre result in twenty minutes, and conclude that home manicures simply don’t work for them. The method below exists specifically to fix that failure point, because the failure was never really about ability.
The Actual At Home Manicure Method, Step by Step
Here is the sequence that actually produces a salon-comparable result, broken into the stages most tutorials skip or rush through.
Stage One: Nail Prep, the Step Everyone Skips
Before any colour touches your nails, the prep stage determines almost everything about how the final result looks and how long it lasts. Remove old polish completely, including the residue around the edges that’s easy to miss. Push back cuticles gently with a wooden stick rather than cutting them aggressively, which both looks more natural and avoids the small nicks that lead to hangnails. File in one direction only, not back and forth, which weakens the nail edge and creates the rough, uneven tips that catch on fabric within days.
The step that makes the single biggest visible difference is buffing the nail surface lightly, just enough to remove shine and create a slightly textured surface for the base coat to grip. Skip this and even a perfect polish application will lift at the edges within two or three days. This entire prep stage takes about ten minutes once you’ve done it a few times, and it is responsible for more of the “salon look” than anything that comes after.
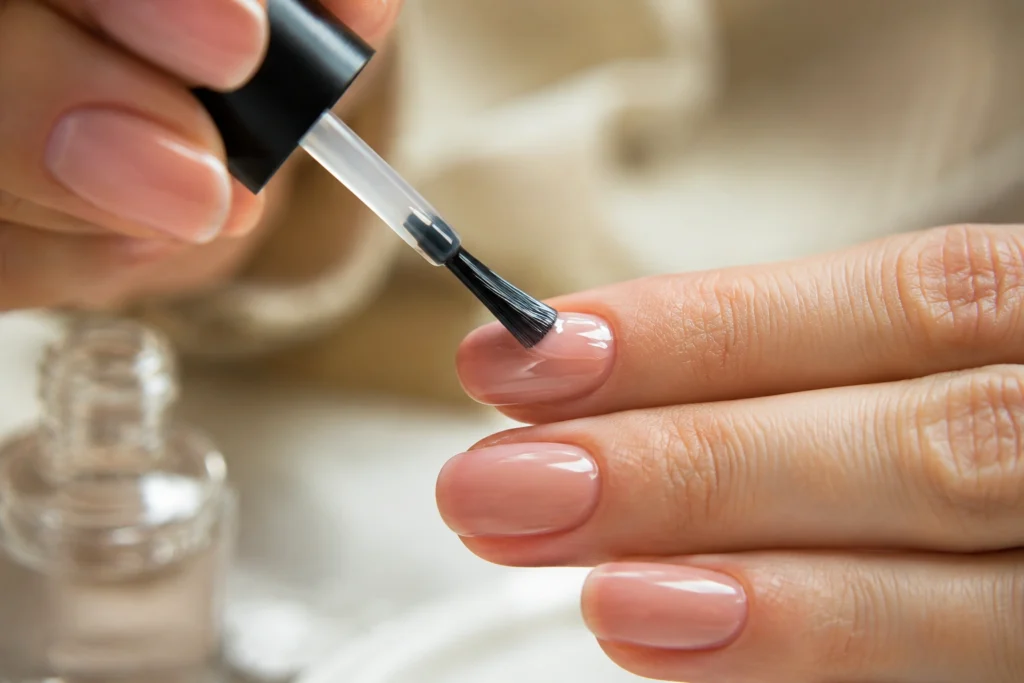
Stage Two: The Base Coat That Actually Matters
A quality base coat is the single product worth spending slightly more on in this entire method, because it’s doing two jobs simultaneously: protecting your natural nail from staining, and creating the surface that everything else adheres to. Apply it in one thin, even coat and let it fully dry, which takes about ninety seconds, before moving to colour.
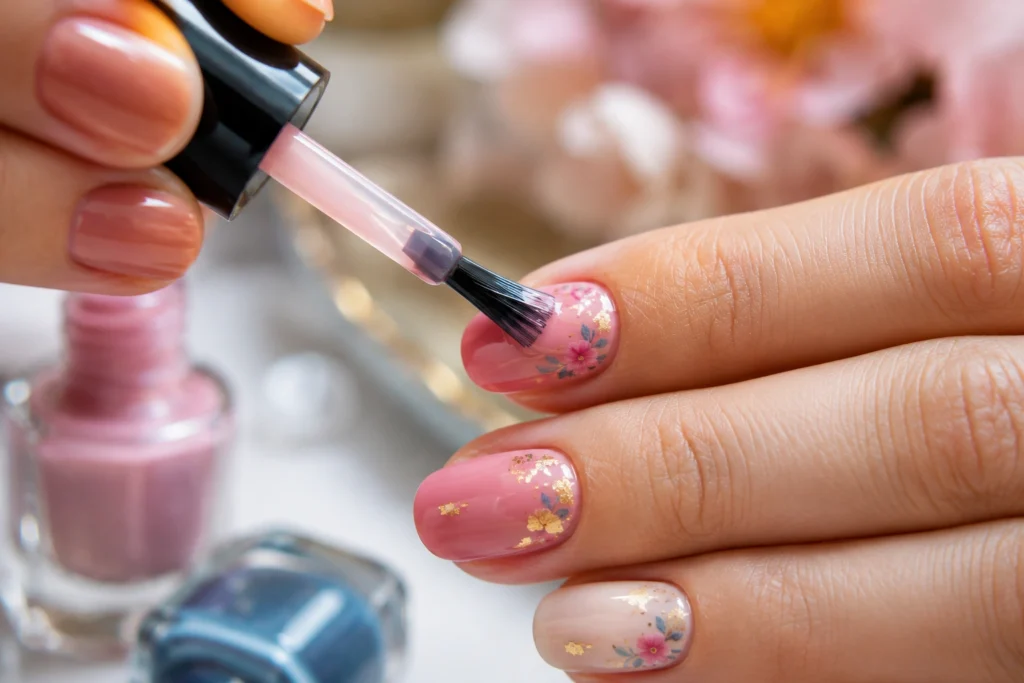
Stage Three: Thin Layers, Patience, and the Technique Nobody Explains Clearly
This is the step that separates a streaky at home manicure from one that looks professionally done. Apply colour in two thin coats rather than one thick one, with a full sixty to ninety seconds of drying time between coats. A thick single coat looks fuller initially but takes significantly longer to fully cure, which means it’s more vulnerable to denting and smudging for hours after application. Two thin coats dry faster, look more even, and resist chipping considerably longer.
The brush angle matters more than most people realise. Load the brush, wipe one side against the bottle opening to remove excess, and apply with the flat side of the brush against the nail, pulling from the cuticle toward the tip in three strokes, one down the centre, one down each side. Rushing this step, or trying to cover the whole nail in one swipe, is where most streaking comes from.
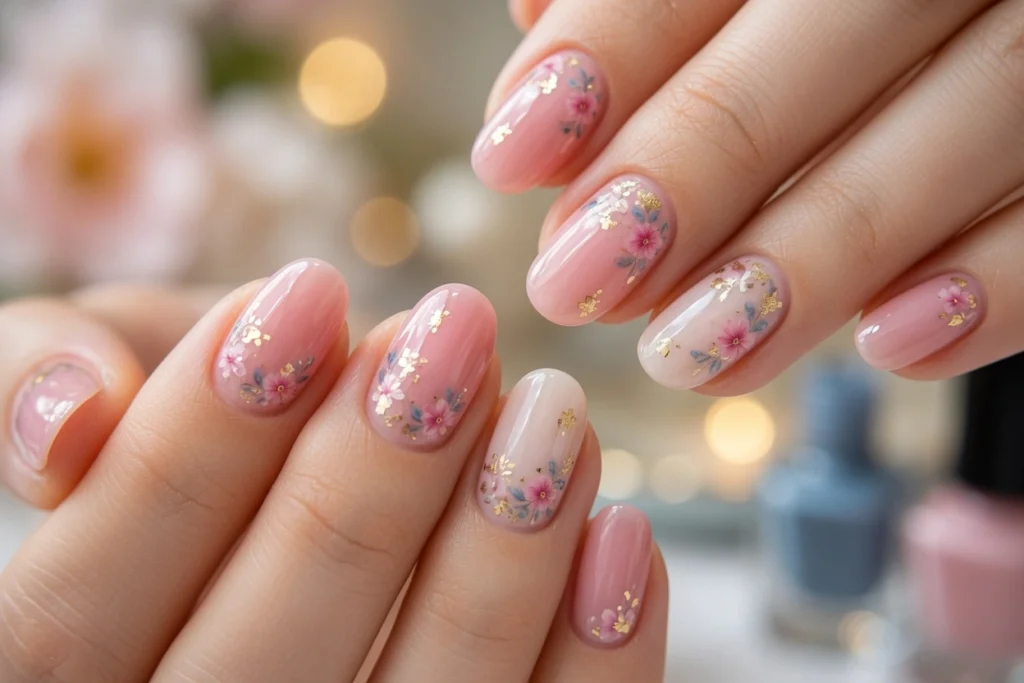
Stage Four: The Top Coat and Cure Time Most People Rush
A glossy top coat seals everything and adds the shine that reads as “professional” to most people’s eyes, but applying it before the colour coats have fully dried defeats the purpose entirely, it just smears the layers underneath. Wait the full drying window, then apply one thin top coat, focusing on sealing the tip of the nail specifically, which is the area most exposed to daily wear and the first place chipping starts.
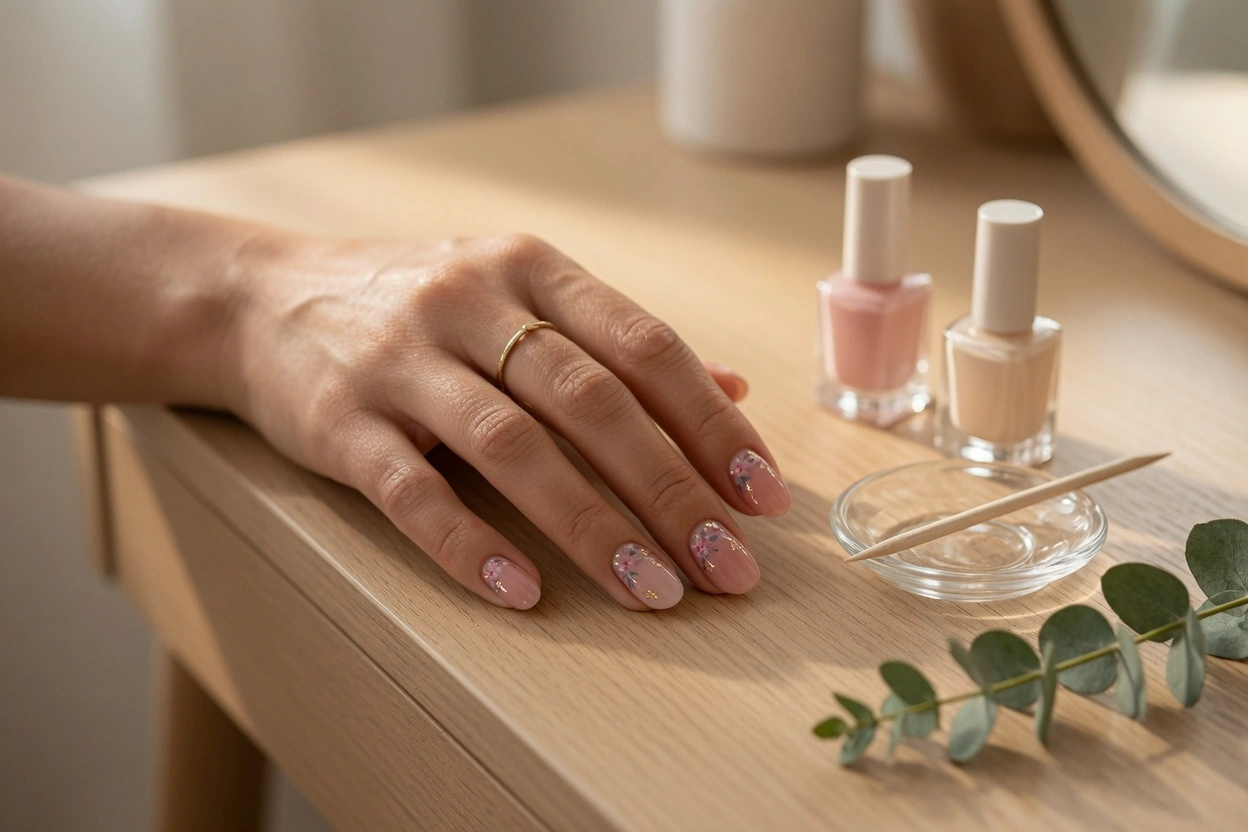
What an At Home Manicure Setup Actually Costs
Here is where the at home manicure method earns its name, and where the gap between perception and reality becomes clear.
A complete starter setup, a quality base coat, two to three polish colours, a glossy top coat, a basic nail file, a cuticle stick, and cotton rounds for cleanup, runs somewhere between thirty-five and fifty dollars total as a one-time purchase. That same kit, used carefully, lasts four to six months of regular manicures before anything needs replacing, since polish bottles contain far more applications than most people estimate.
Broken down per manicure, once the initial kit is purchased, the actual per-session cost lands close to the five dollars in the method’s name, accounting for the small amount of product used per application and the gradual replacement of consumables like cotton rounds and the occasional new file. Compare that to a $45 biweekly gel appointment, twenty-six visits a year, and the annual gap is not a small one. It’s the difference between roughly sixty dollars a year and well over a thousand.
The Gel Alternative Worth Knowing About
For anyone who specifically wants the gel finish and longer wear time gel polish provides, at-home gel systems with a small UV or LED lamp represent a slightly larger upfront cost, typically eighty to a hundred and twenty dollars for a starter kit including the lamp, but the per-manicure cost remains dramatically lower than salon gel pricing, and the lamp itself lasts years with normal home use. For someone currently spending on gel appointments specifically, this upfront investment typically pays for itself within two to three home sessions compared to continuing salon visits.

What Changes After You Switch to At Home Manicures
The financial shift is the obvious one, but the practical changes that follow are what actually make the switch stick long term.
Scheduling flexibility is the first thing most people notice. A salon appointment requires planning around someone else’s calendar, travel time, and waiting room time that easily turns a thirty-minute service into a ninety-minute commitment. An at home manicure happens whenever you actually have twenty free minutes, during a show, after the kids are asleep, on a Sunday morning with coffee. That flexibility alone changes how often people maintain their nails, often resulting in more consistent upkeep than sporadic salon visits ever produced.
The second change is more subtle. Learning the actual technique, the prep, the thin coats, the cure time, builds a skill that compounds. The fifth at home manicure looks noticeably better than the first, the same way any learned technique improves with repetition. Salon visits never built this skill because someone else was always doing the work. An at home manicure habit, six months in, often produces results indistinguishable from professional work, at a fraction of the ongoing cost.

Press-On Nails as the Faster At Home Manicure Option
For anyone who wants the finished look without the application learning curve at all, quality press-on nails have become a legitimately strong option rather than a compromise. Modern press-on sets, applied correctly with proper nail prep and a quality adhesive, can last one to two weeks comparable to gel wear time, at a fraction of both the cost and the time investment of either a salon gel appointment or a full polish-based at home manicure.
The prep stage matters here just as much as with polish. Clean nails, lightly buffed surface, correctly sized tips matched to your actual nail width rather than forced to fit, and a proper adhesive application following the full cure time on the packaging. A press-on set purchased for fifteen to twenty-five dollars typically provides two to three full applications, working out to a per-manicure cost still dramatically below salon pricing, while requiring closer to ten minutes of total time rather than the thirty to forty minutes a full polish-based at home manicure takes.
This option works particularly well for anyone who wants a special-occasion finish, a wedding, an event, a week where they know their hands will be visible more than usual, without committing to either the ongoing maintenance of polish or a salon appointment scheduled around someone else’s availability.
The Honest Summary
An at home manicure isn’t a downgrade from salon work, and treating it as one is exactly why the obvious “just buy cheap polish” advice fails so often. The actual technique, proper prep, thin coats, adequate cure time, is learnable in a single afternoon and improves noticeably with each attempt.
The financial difference compounds quietly in the background while the practical difference, scheduling flexibility, building an actual skill, having full control over the result, becomes the thing that makes the switch stick. Buy one starter kit this week, set aside twenty minutes on a quiet evening, and try the full method once before deciding whether an at home manicure works for you. Most people who actually follow the prep steps don’t go back.
Read More:
Quiet Luxury Budget: How I Built Capsules Under $300 a Year
How Frugal Living Tips Save Real Money Daily